
Drumming Shader
This page explains how the visual effects of custom Pixar OSL "pattern" nodes are animated using HyperShade.
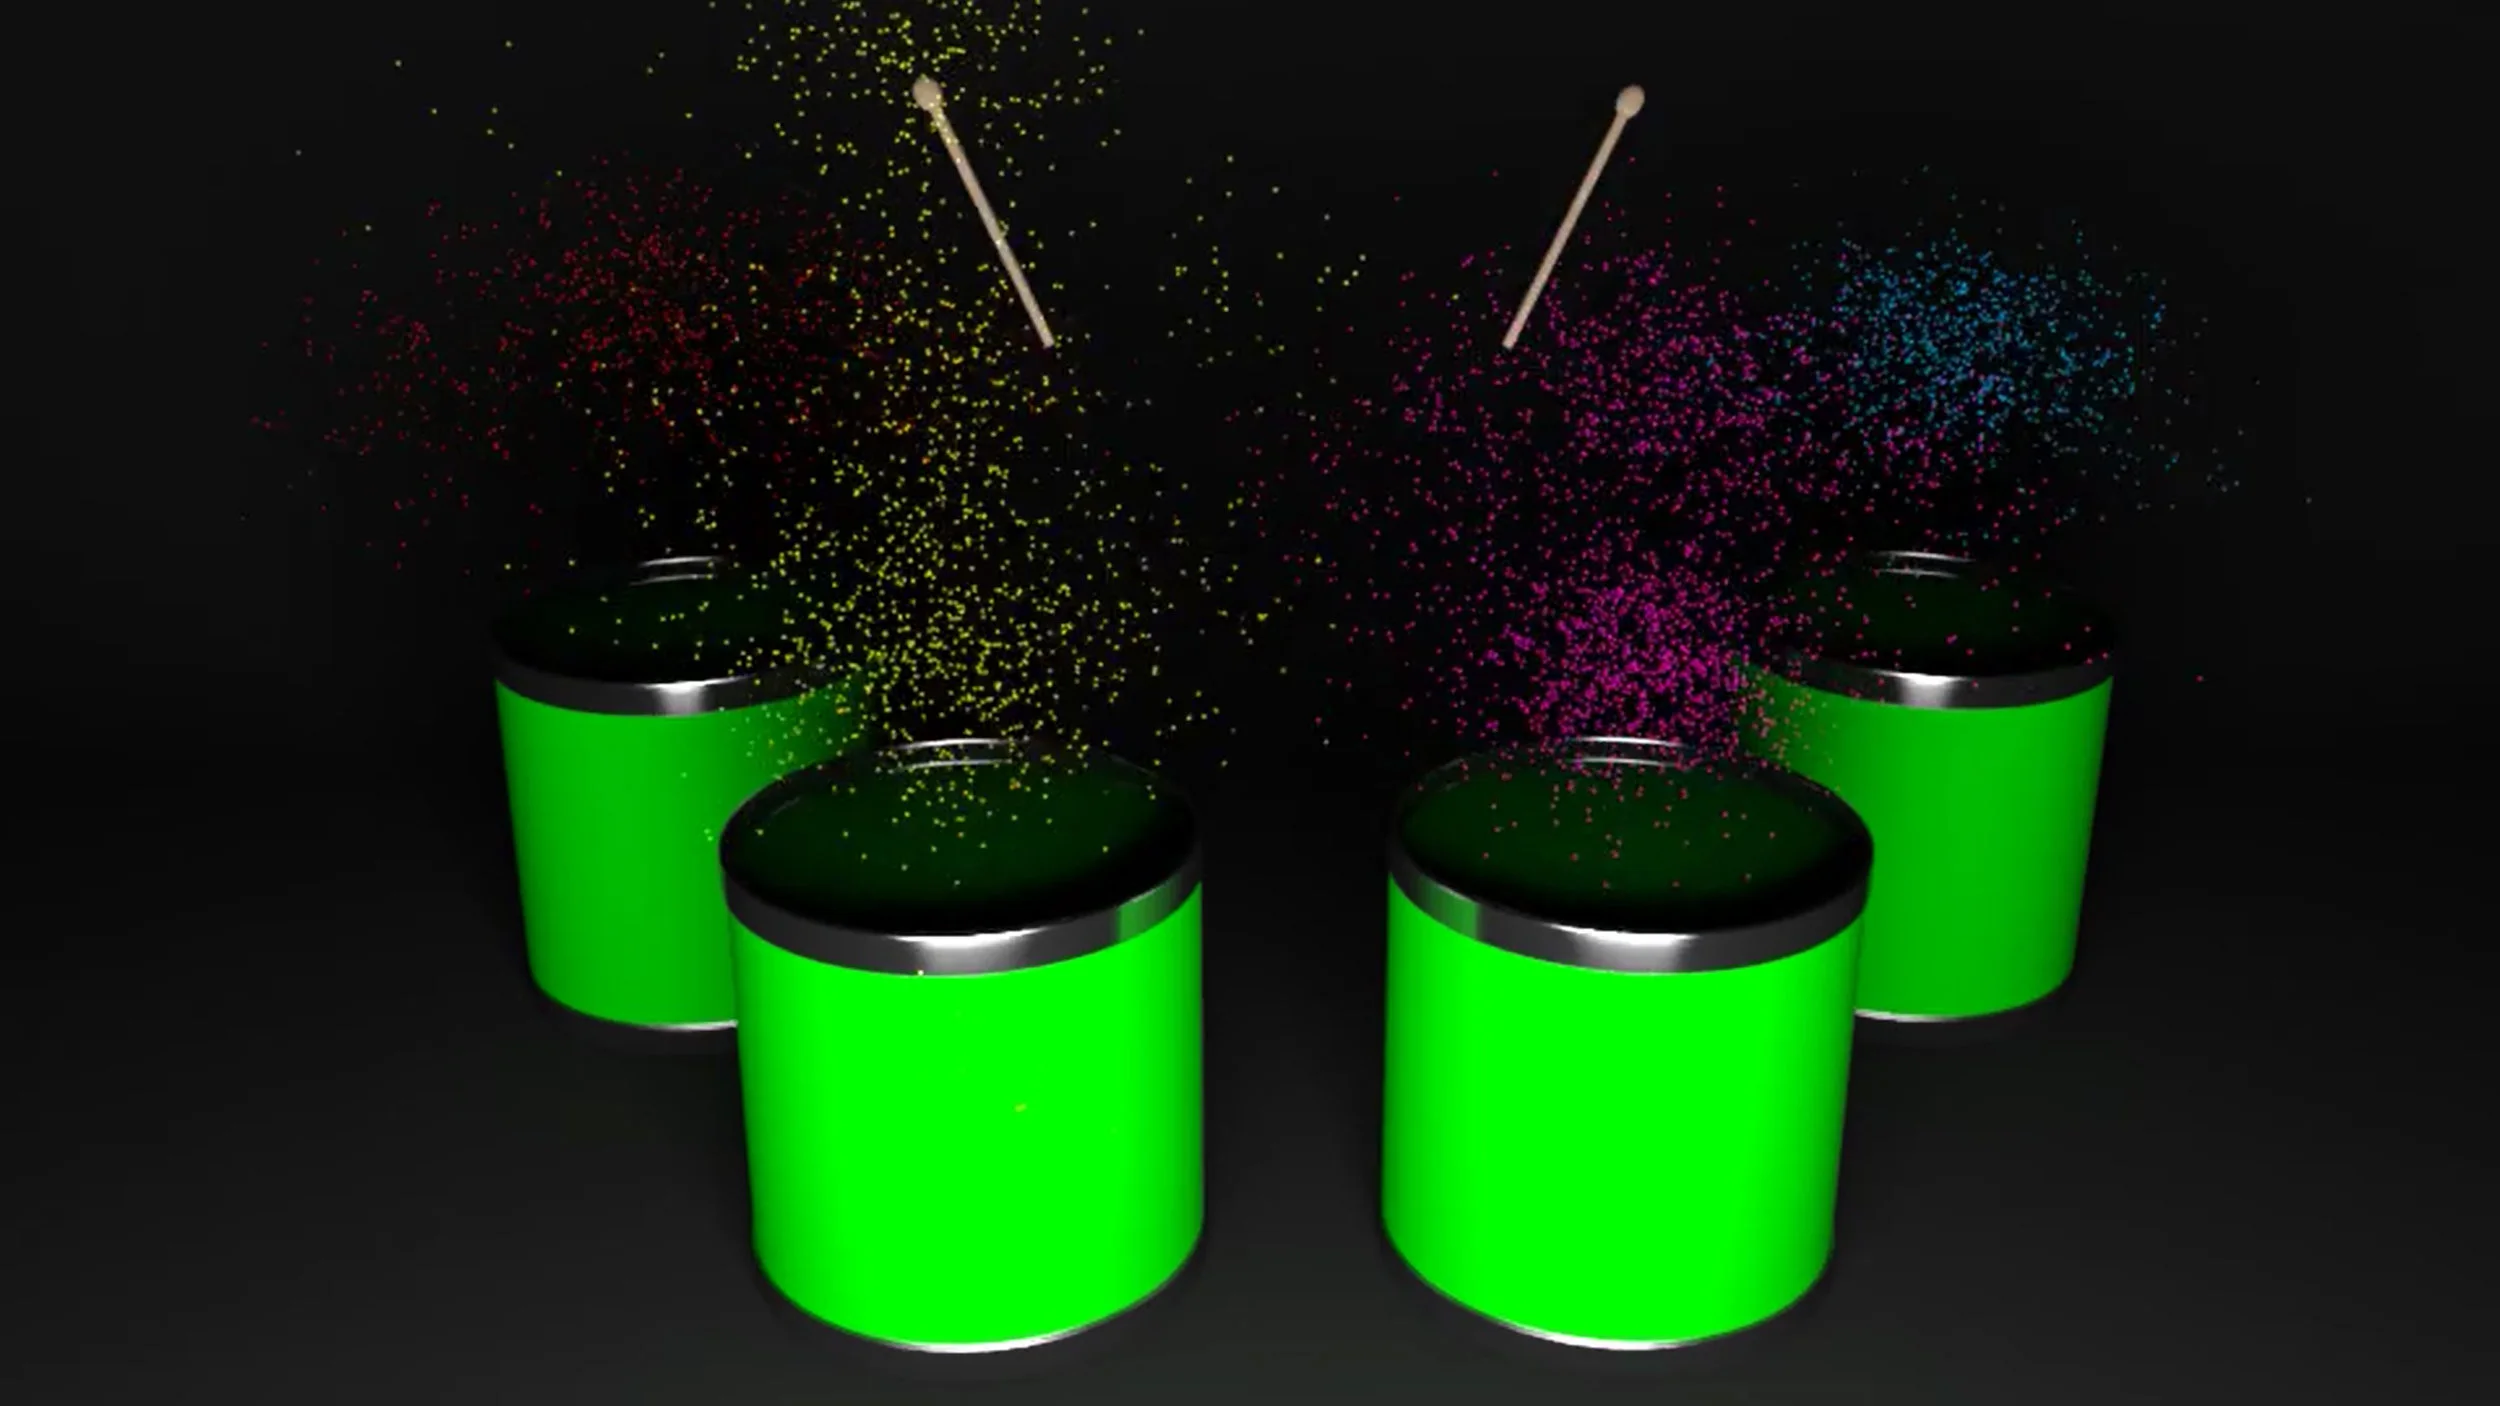
Particles
he Particles were controlled by a source code and different controls within the Attribute Editor. Code was in place to add a particular amount of extra particles to every one particle that is created. This code also allows for specific controls over the number of extra particles produced the size of the blum created around the original particle, and the age in which a particle can produce more blums.

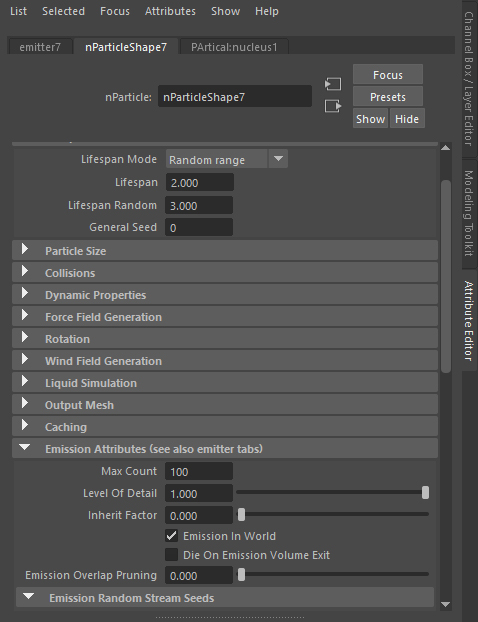
Within these sets of controls your able to control the decay rate (Lifespan), partial speed and range on which that can vary, as well as a max amount of
particles that can be emitted at one time.Also by manipulating the spread and direction on the y axis
I was able to get that upward plum I needed. Finally, I keyed the Rate (Particles/Sec)
going from a high number to zero within a few frames so the emitter only.

For adding the color to the Particles I added the color Dynamic Attribute, and selected the add to individual particles, then create an
expression for RGB PP. The expression you write is on the right, and the underlined part is where you can change the color.
Shader Test


The code for the color change is caused by a coordinate system as seen on the right. Its the distance of this coordinate system that tells the shader what color it should be.